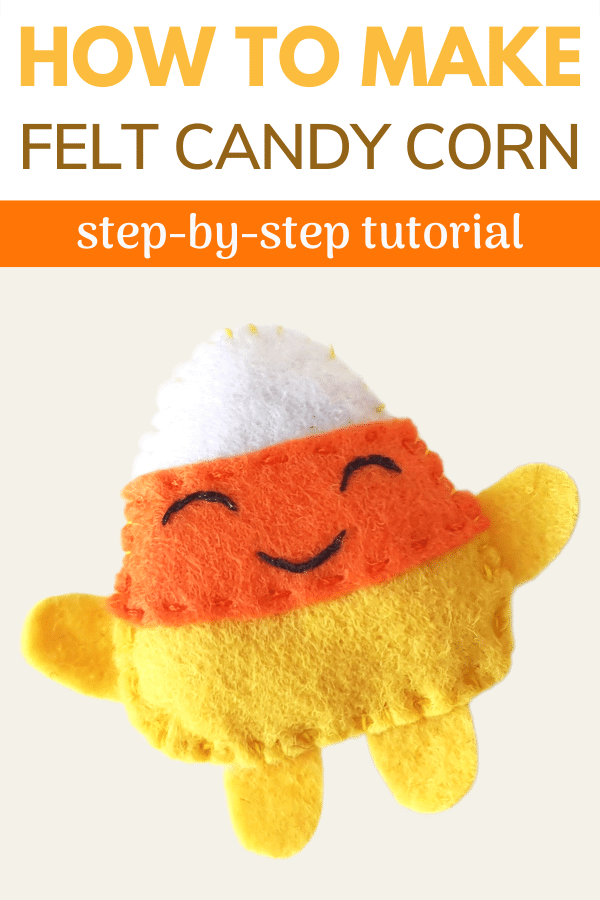
How to Make Felt Candy Corn
Celebrate fall with this super cute felt candy corn ornament! Your kids will love to learn how to make felt candy corn that looks almost good enough to eat.

Fall is here, and it’s the perfect time to make a fun seasonal craft with your kids. Why not use this felt candy corn tutorial to make a cute fall project together?
Just imagine how proud your child would be to give this project as a gift to grandparents, teachers, or friends!
Another felt handicraft you may like: Felt Heart Sewing Project for Kids
This post contains affiliate links. If you click on an affiliate link and make a purchase, we will receive a small commission. See our Disclosure Policy for more information.
What You’ll Need to Make Felt Candy Corn
- Orange, yellow, and white felt (Your local craft store will probably have a better price.)
- Matching thread
- Needle
- Scissors
- Pencil
- Felt scraps or Poly-fil (for stuffing)
- Printable felt candy corn pattern
How to Make Felt Candy Corn (Tutorial)
Step 1
Using the printable candy corn pattern, trace and cut out the felt pieces:
- 2 base pieces (white)
- 1 bottom layer (yellow)
- 1 middle layer (orange)
- 2 arms and 2 legs (yellow)

Step 2
On the orange piece of felt (middle layer), draw eyes and a mouth for the candy corn. Use a black thread to stitch along the lines.

Step 3
Take one of the base cutouts and the yellow layer (bottom layer). Place the yellow layer on top of the lower part of the base.
Using yellow thread, stitch the yellow layer to the base layer along the bottom and both sides. (You don’t need to stitch along the top side.)

Step 4
Place the orange layer (middle layer) above the yellow layer, slightly overlapping the orange layer over the top edge of the yellow layer.

Step 5
Stitch the orange layer onto the base along all 4 sides.

Step 6
Using the second white base cutout, place one arm cutout near the bottom of the left side, and place one leg cutout near the left of the bottom side.

Step 7
Place the stitched candy corn felt piece on the top of the second base cutout, keeping the arm and leg cutouts between the 2 base layers.

Step 8
Stitch around the side to join the 2 base cutouts, securing the arm and leg cutouts between the layers. Repeat for the right arm and leg, leaving a small opening at the top to stuff the felt candy corn. (You can use scraps of felt or Poly-fil for stuffing.)

Step 9
After stuffing the candy corn, stitch the opening shut. Tie a knot and cut off extra thread if necessary.
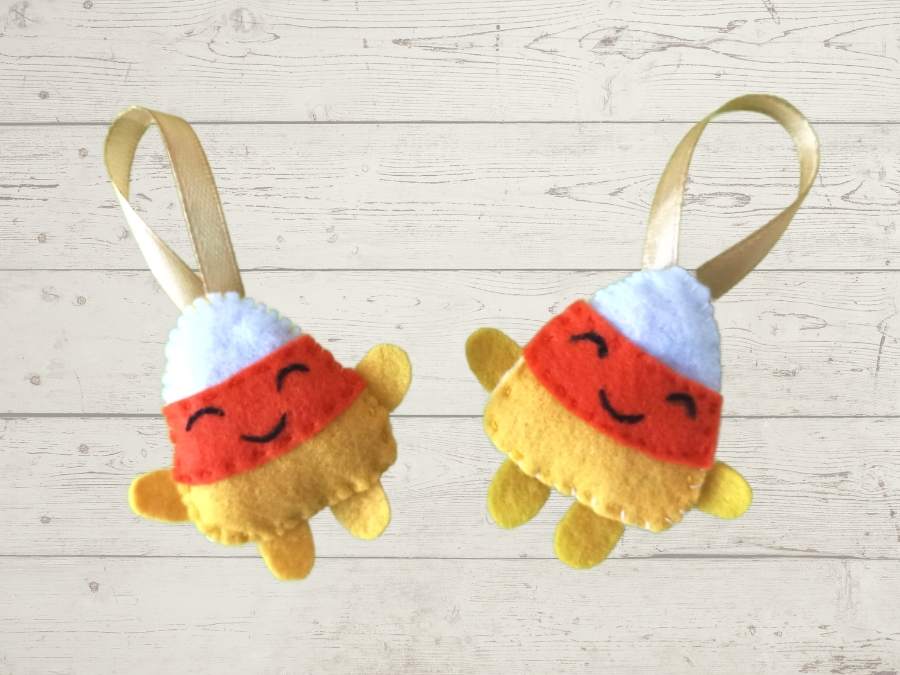
To turn the candy corn plush into an ornament:
Cut a small piece of ribbon and form a loop. Attach the ends of the ribbon to the back of the candy corn plush to complete the ornament.

