DIY Felt Christmas Tree Ornament
Looking for a meaningful handicraft to make with your child before Christmas? This DIY felt Christmas tree ornament is a fun way to practice basic stitching skills while making memories together.
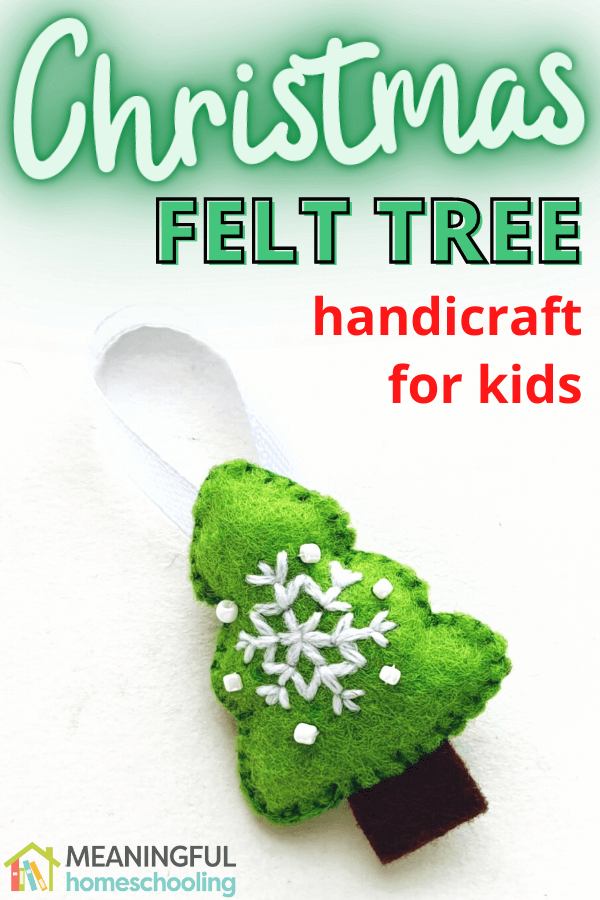
Christmas time is just around the corner, and it’s a great idea to plan ahead for creative projects to do with your child.
This felt Christmas tree handicraft is a festive project that kids will enjoy making. They will be so proud to display their handmade holiday decor!
These cute trees also make special gifts to give to family members or friends. (There’s nothing that grandparents love more than handmade gifts from their grandchild!)
If your child is new to sewing, don’t be afraid to give this felt tree a try. There are detailed step-by-step instructions and a free printable template to keep things simple and fun.
You may also like: Valentine Felt Heart Sewing Project for Kids

This post contains affiliate links. If you click on an affiliate link and make a purchase, we will receive a small commission. See our Disclosure Policy for more information.
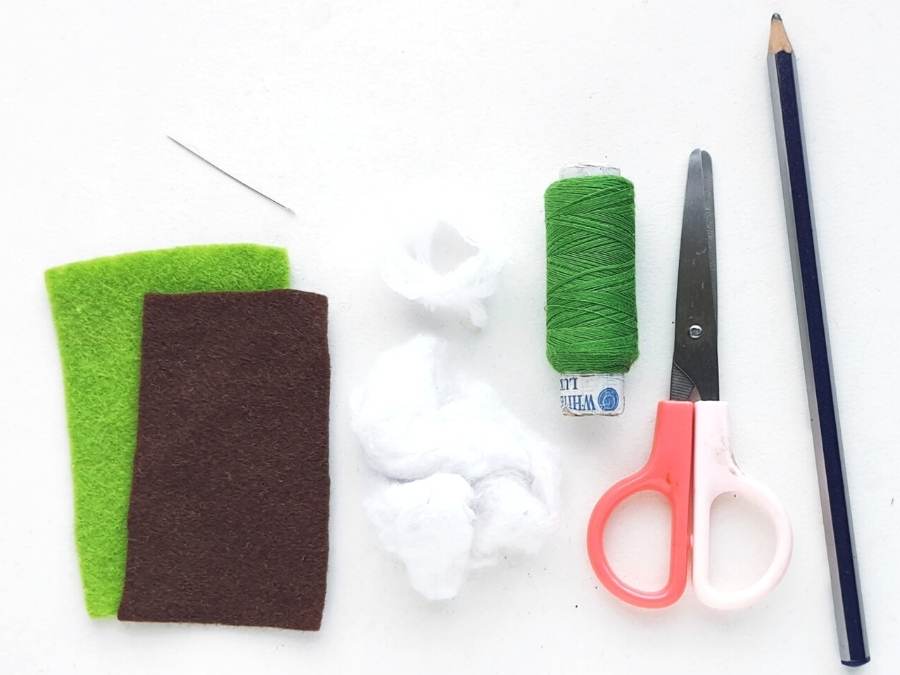
What You’ll Need to Make a Felt Christmas Tree Ornament
- Green felt and brown felt (different shades are fine)
- Ribbon or baker’s twine
- Cotton or Poly-fil (for stuffing the tree)
- Pencil
- Scissors
- Needle
- Thread
- White seed beads (optional)
- Printable Christmas tree template
How to Make a DIY Felt Christmas Tree Ornament
Step 1
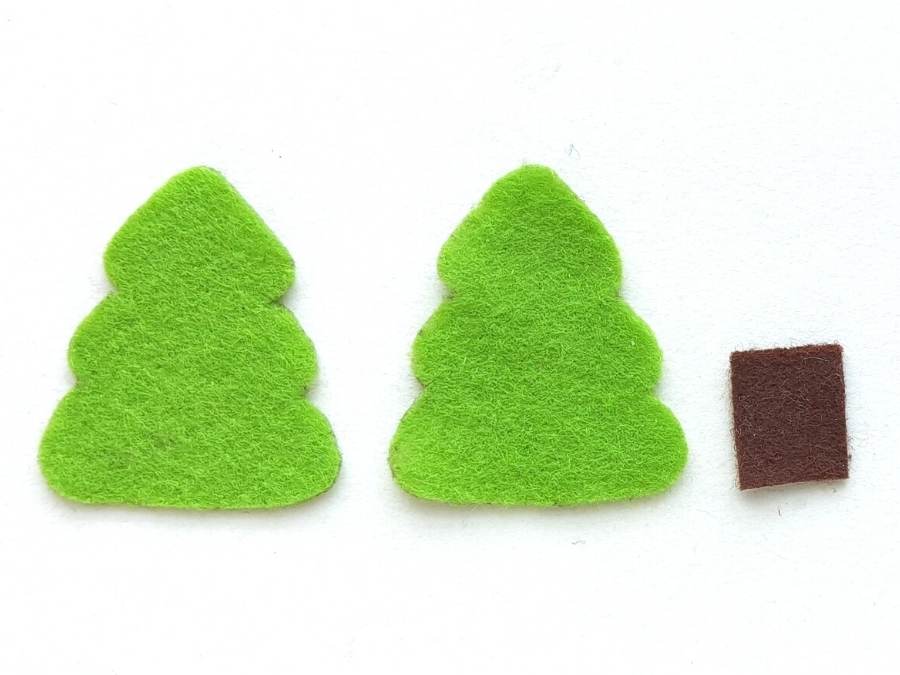
Select green and brown felt pieces (or your choice of color). Using the Christmas tree pattern, trace the square shape on brown felt; trace the tree patterns on green felt.
Carefully cut out the traced pieces.
Step 2
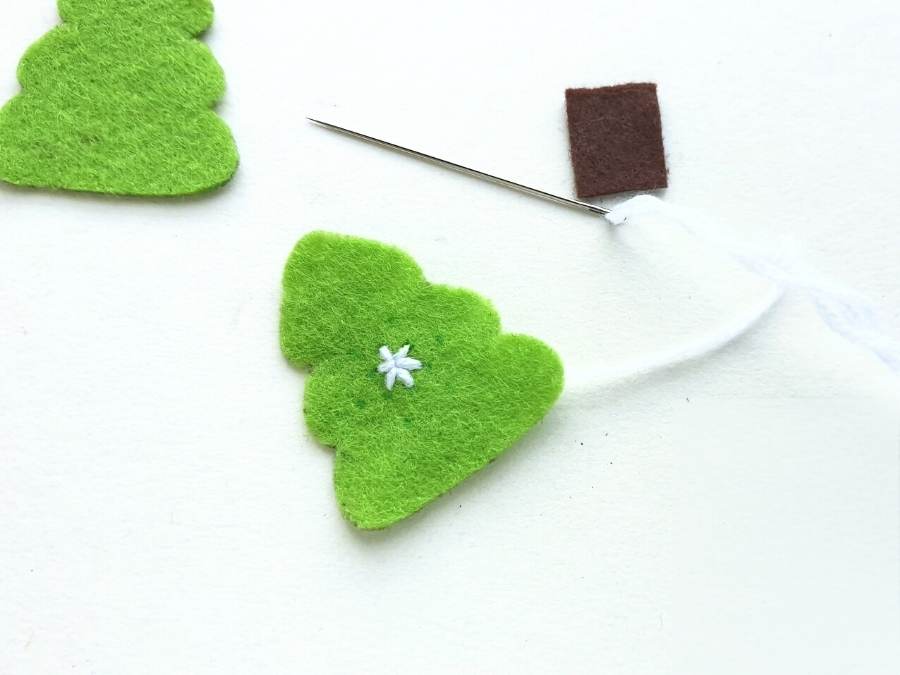
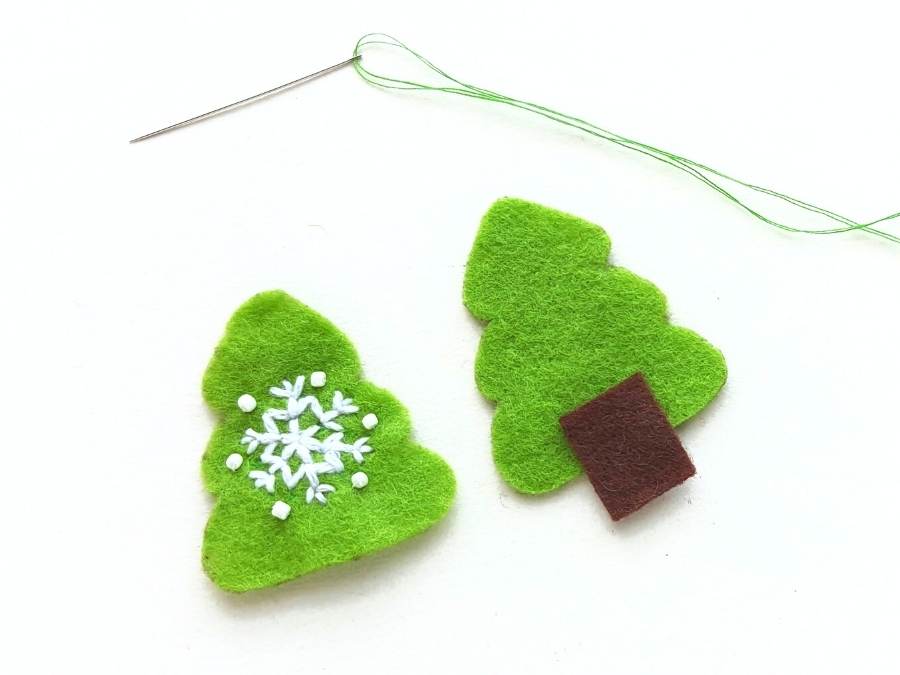
Use a pencil or a marker to draw a simple snowflake pattern on one of the tree pieces. Prepare needle with white thread to embroider the snowflake on the felt tree.
Begin the embroidery work from the center of the snowflake pattern. Work your way toward the outer edge, embroidering each arm of the snowflake.
Optional: To give the snowflake pattern a more festive look, add white seed beads around the embroidery. Simply stitch the beads around the snowflake using matching thread.
Step 3
Take the remaining felt tree piece and place the log cutout on the bottom edge, slightly overlapping the 2 pieces.
Step 4
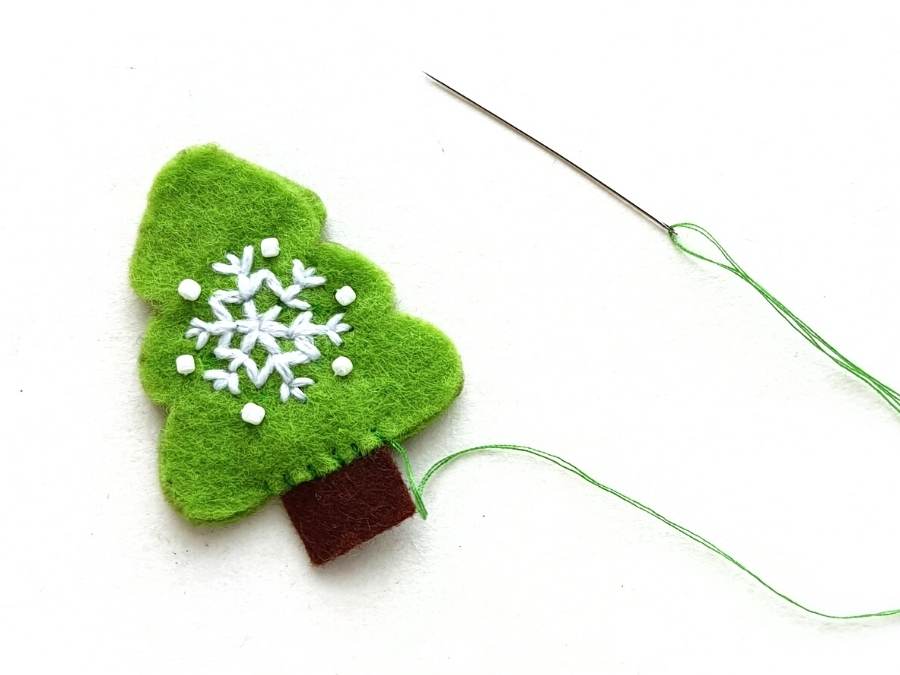
Place the embroidered felt tree on the top of the other 2 pieces. Prepare needle with green thread.
Begin stitching the edges of all pieces together with a flat blanket stitch, beginning at the bottom and attaching the log first.
Step 5
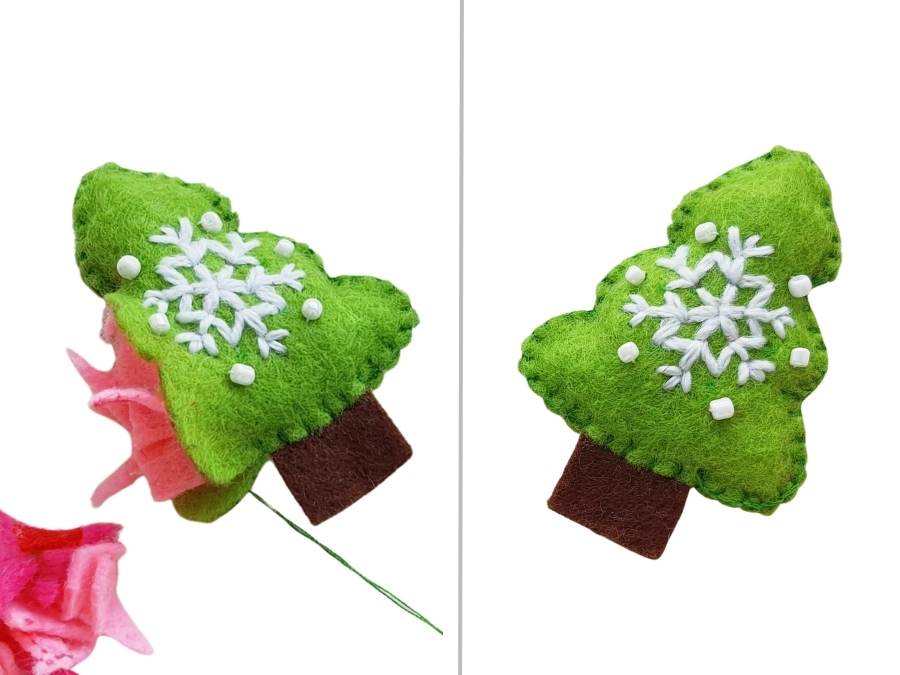
After stitching the log, begin stitching up one side. Continue sewing until you’re almost back to the starting point, leaving a small opening for stuffing the felt tree.

Step 6
Use cotton or Poly-fil to stuff the felt tree (small scraps of felt will also work nicely).
Stitch the opening closed to secure the stuffing. Tie 2 knots and cut off extra thread.
Step 7
Create a loop with a small piece of ribbon and attach it on the back side of the felt tree to complete the ornament. Enjoy your beautiful Christmas tree craft!

Merry Christmas!
