IDO3D: 3D Pens for Kids

Art is one subject that often gets overlooked in our homeschool. We faithfully cover all the “essential” subjects–math, language arts, history, science, Bible, and such–but it’s always a challenge to fit in the “extras.”
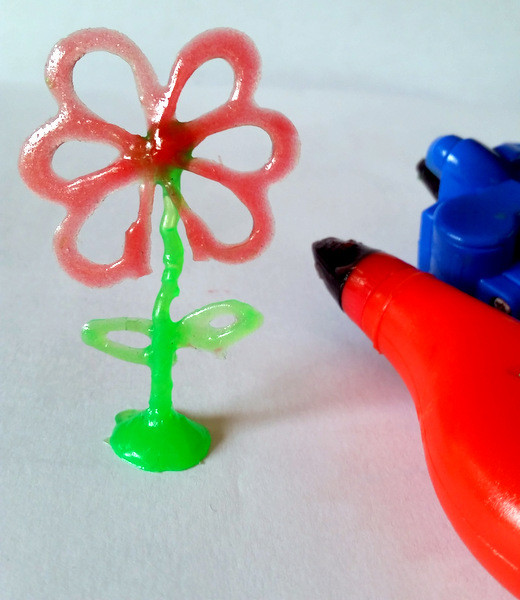
Recently, though, we have been trying out a new art technique: 3D drawing. This unique art method is intriguing to all ages and opens up a whole new world for creative expression!
I received this product for free and was compensated for my time. All thoughts and opinions are my own. I was not required to post a positive review. See our Disclosure Policy for more information.
IDO3D: 3D Pens for Kids
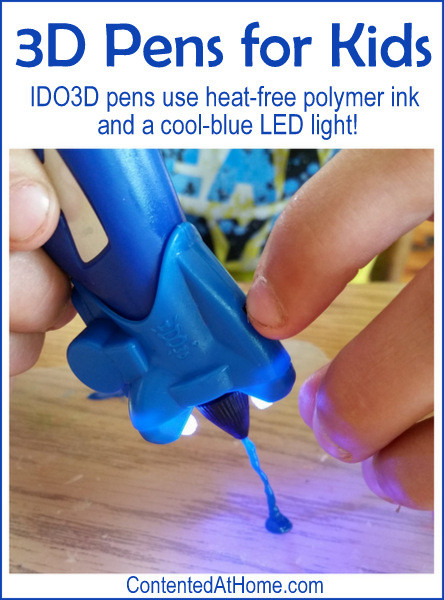
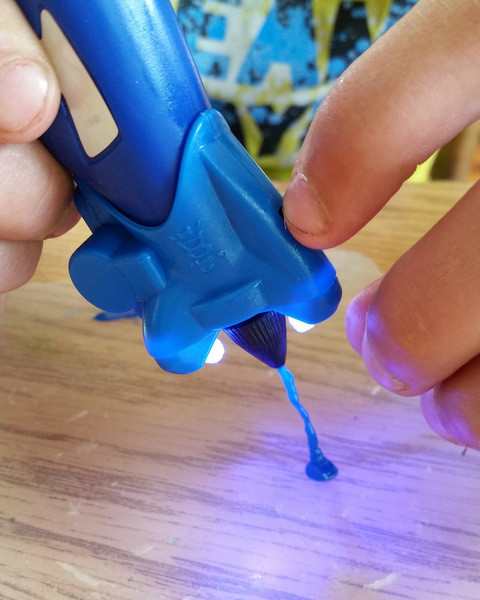
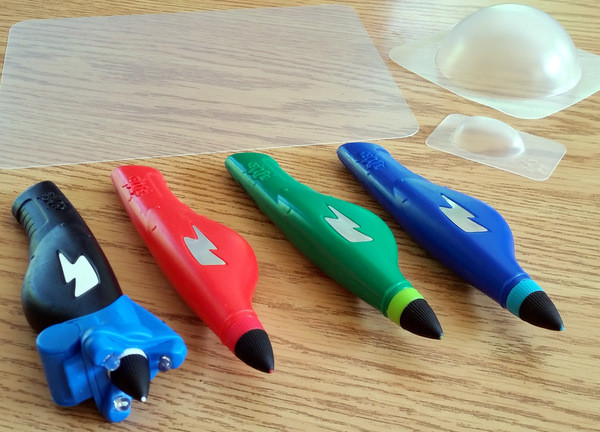
IDO3D pens are the perfect way to introduce kids to 3D drawing. The pens come in a variety of colors with an easy-to-squeeze barrel. A removable LED spotlight attaches to the pen to cure the ink. And yes, they really DO draw vertically!

The IDO3D kit that we have included four pens, a clear plastic work mat, two plastic molds to create domed shapes, and a 3D guide map (project idea booklet). The plastic mat is great for tracing shapes that can then be assembled into 3D objects–a technique I had never thought of before!

IDO3D 3D pens are designed for ages eight and up. My eight-year-old, Weston, tried his hand at them but was a little unsure of himself. Collin (13) was a little more confident using the pens, and Kaylee (17)–the most artistically-minded member of the family–definitely wanted to try them out!
These 3D pens are a low-mess way to encourage kids to develop artistic skills and creativity. The polymer gel is enclosed inside the pen barrel, and projects are constructed on the plastic mat. I love that there is almost no clean-up after a 3D drawing project!
Stumped for ideas? I was, too! But no worries. IDO3D has online art classes to help you get off to a good start.

Tips for Getting Started with IDO3D 3D Pens
Here are a few things that we have learned from using the IDO3D 3D pens:
1. Be sure the LED spotlight is firmly attached before squeezing the barrel of the pen. If you have a hard time getting the spotlight attached, try twisting it a little as you push it onto the pen.
2. Begin drawing before turning on the spotlight to keep the tip from clogging. If one of the tips happens to become clogged, we found that it was very simple to remove the dried ink–similar to removing dried glue from the tip of a hot glue gun.
3. Be sure to dry the project thoroughly. At first glance it may seem that the gel would harden when exposed to air, but it actually requires UV light in order to cure. We found that larger areas were cured quickly and easily by setting them in direct sunlight for a few minutes.
4. Remember that practice makes perfect! Like any other art technique, 3D drawing requires practice and patience in order to develop skills. After all, no one expects to be able to paint or sculpt perfectly the first time they try, right?
